Mini-review: SSDs have few drawbacks, but incompatibility with Boot Camp is one.

Andrew Cunningham
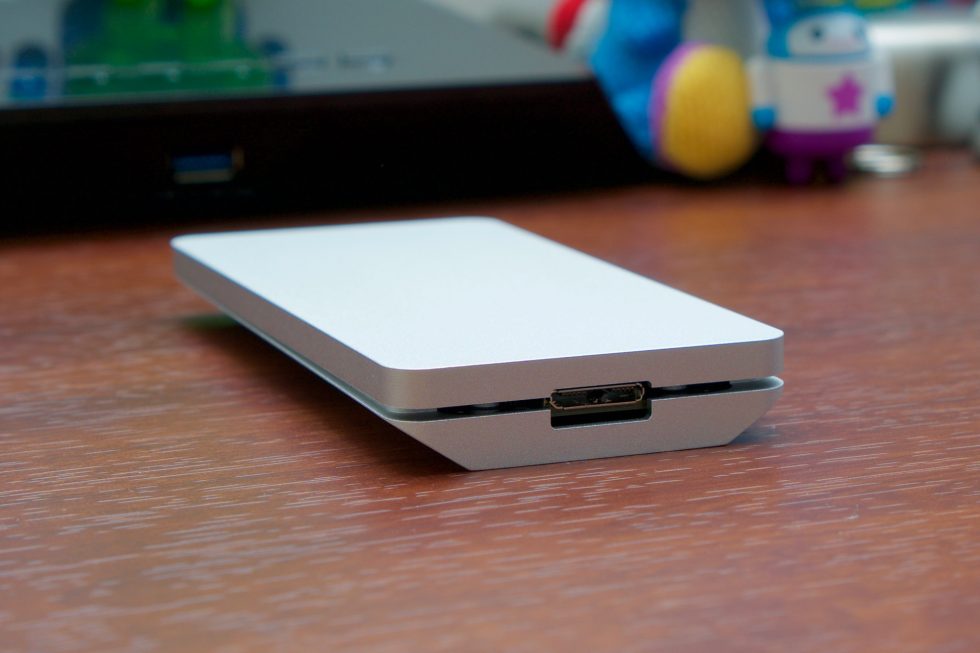
OWC's Aura drive for newer MacBook Airs and Pros.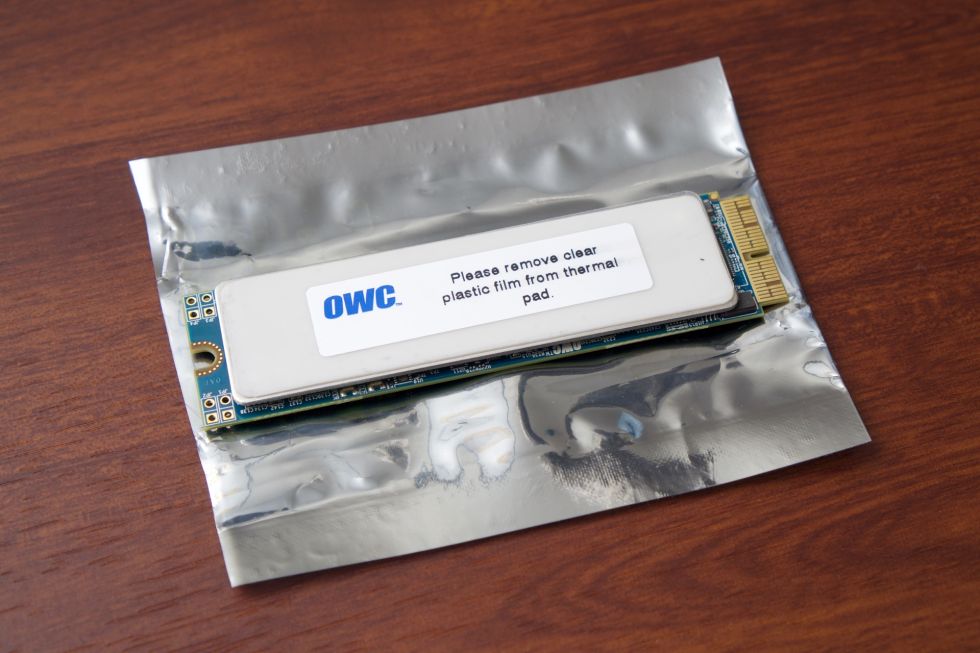

There’s not much you can do about parts that are soldered to the motherboard, but when it comes to proprietary connectors, the folks at Other World Computing are pretty good about offering aftermarket upgrades. OWC’s Aura SSDs, launched last month, finally give owners of post-2013 MacBook Airs and Retina MacBook Pros a way to increase their internal storage, in some cases well beyond the capacities that Apple itself offered.
We got a 1TB drive in for testing and came away mostly impressed. The drive isn’t perfect, but it's a decent way to lengthen the life of your Mac and give yourself more storage space if you regret buying one with a 128GB or 256GB SSD.
Installation
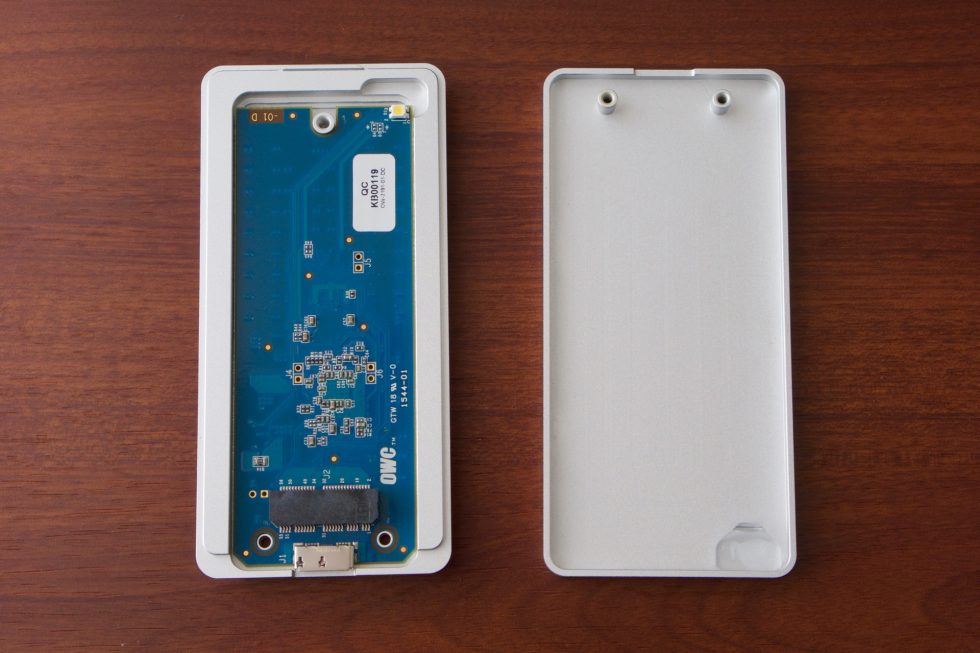
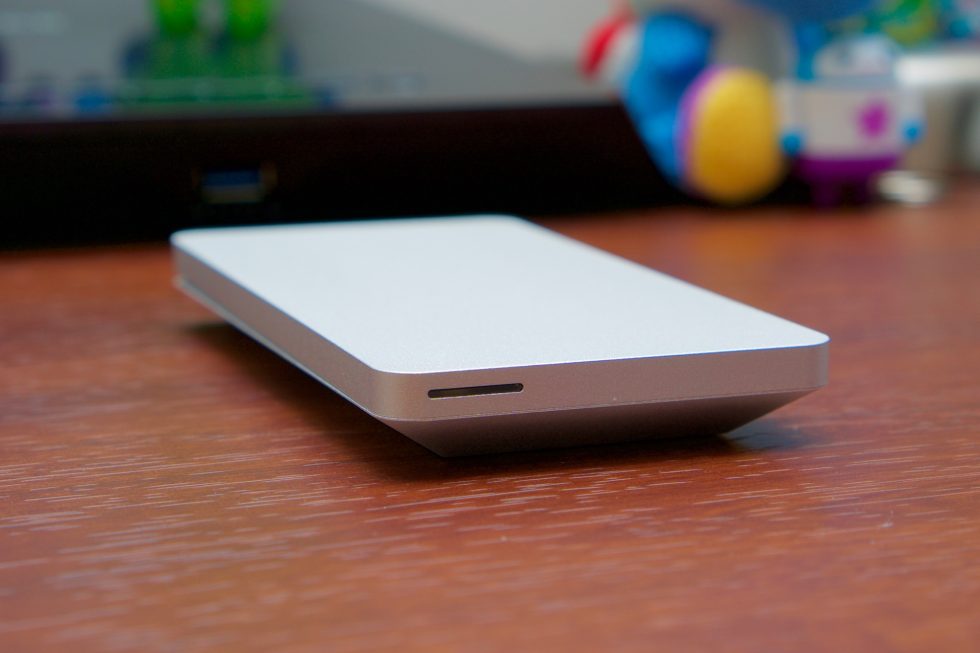
The machine we’ll be working on in this review is a 2013 MacBook Air, Apple’s first hardware to switch to PCI Express SSDs. The installation process is essentially the same for MacBook Pros, but consult resources like iFixit’s handy repair guides for photos and more precise instructions.OWC offers bare drives, but our review drive included the company’s “add-in kit.” It adds an extra $50 or so to the purchase price, but it’s worth it. You get the precise pentalobe screwdrivers you’ll need to get inside the laptop and a USB 3.0 enclosure that lets you use your old SSD as external storage, which is helpful when transferring files. The aluminum of the enclosure matches the finish of your MacBook.
The drive itself is slightly larger than a stick of gum, and its entire topside is covered by a large thermal pad. There’s a piece of plastic protecting the thermal pad that you’ll want to peel off before you install the drive, so remember to do that just before you put the drive in the laptop.
Start by flipping your computer over and removing the 10 pentalobe screws on the bottom. Eight of them are identical, but the two in the center near the hinge will be slightly longer, so remember that when you’re taking them out. The metal bottom of the laptop should lift off easily once the screws have been removed, and you might want to take a minute to blast the thing out with a little canned air if you have some on hand. My experience with Macs has been that they don’t get as dusty on the inside as some computers, but after a couple years of use, you’ll inevitably still have a little grit inside the thing.
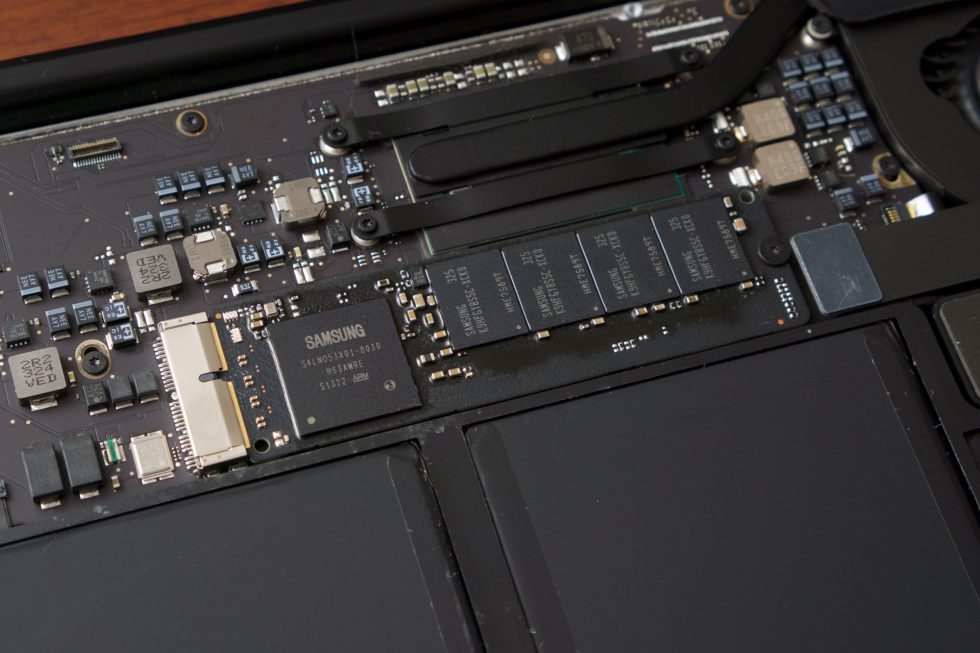
Next, gently pull the tab that connects the battery to the rest of the laptop. This is technically an optional step, but you really ought to do it to reduce the risk of shock damage (to yourself and to the computer). The SSD should be immediately identifiable since it’s roughly the same size as the one OWC sent you. Use the second screwdriver to remove the screw that secures the SSD to the motherboard. Slightly lift the drive (there will be a little resistance, so be gentle but firm) and pull it out. Repeat the same steps backward to install the new OWC drive and you should be good to go.
I initially had some trouble getting our MacBook to recognize the OWC drive, but pulling it out and re-inserting it fixed the problem. Just make sure that the drive is firmly inserted in the SSD slot.
Your next task is to restore a working copy of OS X to the drive, which you can do in one of several ways. Hitting Command plus R to launch Internet Recovery is probably the least complicated, since anyone with an Internet connection can use it to restore a working copy of OS X to their Mac. The downside is that it will try to install whatever version of OS X your Mac originally shipped with, which can mean installing something as old as Mountain Lion and then upgrading to El Capitan; this is a tiresome process.
With some foresight, you can create a USB installer to install El Capitan directly, which is the fastest way to handle things if you don’t want to mess with Internet Recovery. Or, once you’re booted into Internet Recovery or from the USB stick, you can pop your old SSD in the OWC drive enclosure and copy your existing OS X installation over with Disk Utility (my success rate doing this is higher with the older 10.10-and-previous Disk Utility than it is with the pretty-but-sorta-busted 10.11-era Disk Utility).
Listing image by Andrew Cunningham
Performance and caveats
Attentive users will notice something odd about the OWC drive right from the first boot—it uses the yellow drive icon that normally denotes an external hard drive rather than the regular internal hard drive icon (which, yes, looks like an old HDD even if your Mac uses an SSD).From a hardware perspective, the 1TB Aura drive is actually two SSD controllers RAIDed together with a Marvell 9230 RAID controller. Behind the scenes, the drive is two SSDs, but to the operating system it looks like one big removable rotational disk. And for the most part, OS X doesn’t really care what kind of disk it’s running on. It’s just as happy to boot from anything from an external HDD to an SD card. Sleep and wake times didn’t seem noticeably different, FileVault encryption works without complaint, and OWC says that the controllers it’s using obviate the need for OS X’s built-in TRIM support (TRIM isn’t enabled automatically for any non-Apple SSDs in OS X, and while there are ways of working around it, OWC didn’t want to rely on a hack to enable this basic functionality).

The drawback of the odd RAID setup the Auras use that the drives won’t work with Boot Camp. If you want more room so you can put down a good-sized Windows partition, it just isn’t going to happen. The built-in Boot Camp Assistant refuses to work on what it views as an “external” drive, and attempts to re-partition the drive and install Windows 10 manually met with failure (I managed to end up with a non-bootable Windows install and an OS X partition that the Mac couldn’t even see anymore). OWC says that the only way to run Windows on the drive is to format the entire drive and install Windows as the only operating system; you may be able to get it to dual-boot with some effort, but it won’t just work the way it does with Boot Camp.
The drive can also get warm; that thermal pad is there for a reason. During periods of heavy disk activity—encrypting the drive with FileVault, for instance—the bottom of the MacBook Air got quite warm even though the CPU was mostly idle. It’s not hot enough to cause problems, but it gets a fair bit toastier than the Apple drive.
Worth the cash?
In large part, the Aura delivers on its promise. It’s a replacement SSD for your MacBook Airs and Pros that can dramatically increase your capacity without hurting your speed, and it’s a relatively painless upgrade.The main drawback is that the Aura isn’t seen by OS X as a standard internal SSD, which is a problem for me personally since I run Boot Camp on my Macs. I don’t think this will cause problems for people who strictly run OS X on their Macs since OS X will happily treat external drives and internal drives almost exactly the same way. But you might find other edge cases where seeing the SSD as an “external” drive could cause problems.
Overall, though, this is the best and most seamless way to add storage to a newer Mac. The drives are considerably more expensive than standard SATA or M.2 PCI Express SSDs on the market, but that’s the price you pay using a proprietary connector. OWC’s upgrade kit is well worth the $50, both because it gives you the tools you need and because it lets you re-use your old SSD as a slick external hard drive. I wish Apple would prioritize repairability and upgradeability in at least some of its Macs, but short of that dream becoming reality, the OWC Aura SSD is the best you could hope for.
The good
- Adds a whole bunch of storage to Macs that typically aren’t very upgradeable.
- Easy to install, especially with OWC’s added toolkit (just make sure you have what you need to re-install OS X and copy over your data after).
- Performance is around the same as Apple’s first-party 128GB SSDs.
- Should retain performance over time even without OS X’s built-in TRIM.
The bad
- Costly compared to standard SATA and M.2 PCIe drives.
- Warms a little under load.
- Not as fast as first-party 256GB SSDs in older MacBooks or the first-party drives in any of the 2015 MacBooks.
The ugly
- No official Boot Camp support is a disappointing side effect of the way the drives are configured.
Post a Comment